How To Setup a .nl Domain With PBN Blog Hosting

By James Flarakos | February 13, 2023
When setting up a .nl domain with our blog hosting, you will need to follow these steps to connect your PBN blog hosting with your domain.

What Is The Difference With .NL Domains
So when setting up your .nl domain with SeekaHost. The nameserver and DNS settings setup is slightly different to out normal PBN blog hosting guides for domains like .com or .co.uk.
In this guide we will show you how to start and connect your .nl domain with your hosting and start editing your website.
Creating Your Blog For .NL Domain
First we need to add our site before we connect the domain to the hosting. Once its added we will be provided the IP and nameservers required to complete the connection with the domain.
- Firstly, find a PBN blog hosting package to suit you or have an existing one ready to start your blog on.

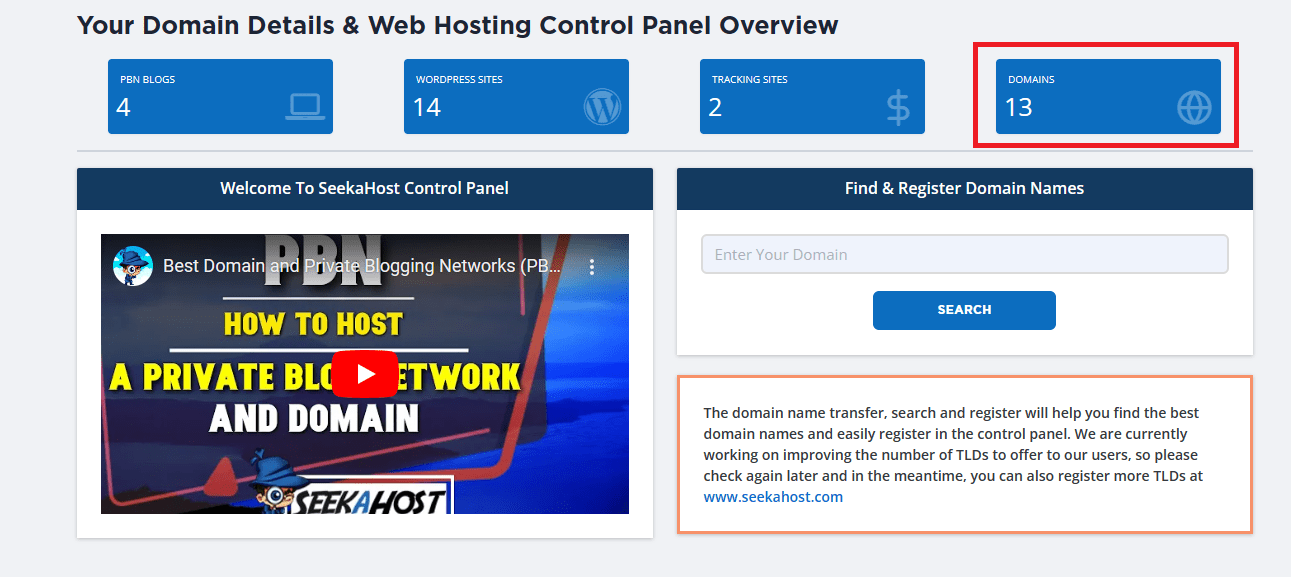
- Now login to your dashboard and select PBN Blogs to connect your blog.
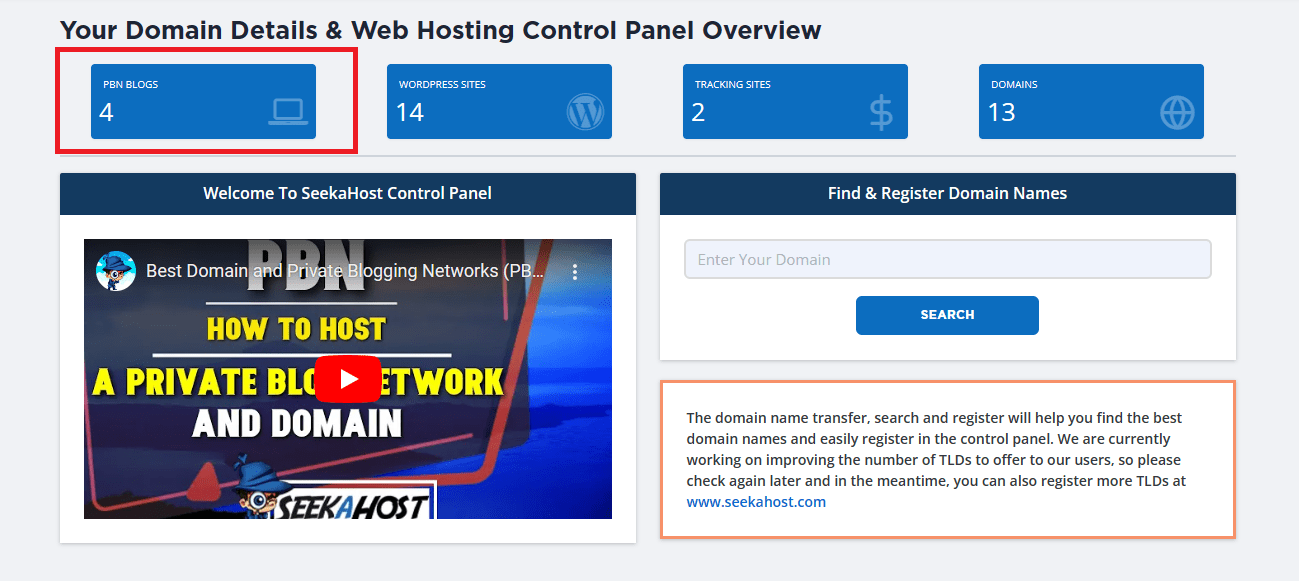
- This page will display your current PBN blogs if you have any. On the top right click on create new blog to get started.

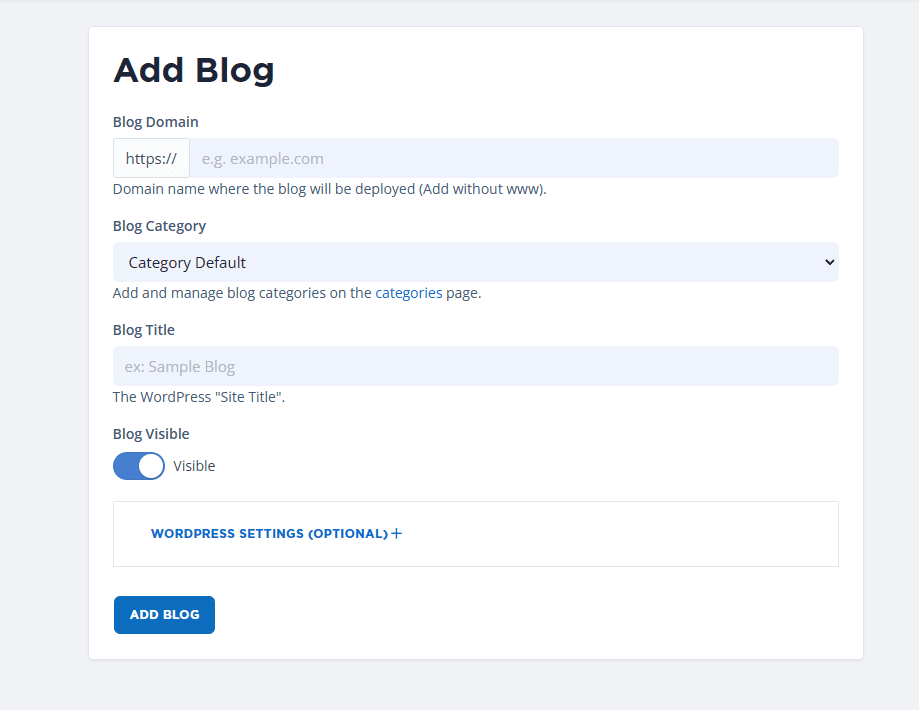
- On this page you will now need to insert your domain, select a category (created on the previous page), add a blog title and finally create your blog by clicking on add blog.
- You will then be re directed to the list of blogs you have. Once the status changes to “online” you can click on action to the right of the domain to continue to connect it with your domain.

How To Connect Your .NL Domain To Hosting
Once you added your site using the guide above, its now time to connect your domain. Access your blog by clicking action button to the right of your blog, in the list of sites you host.

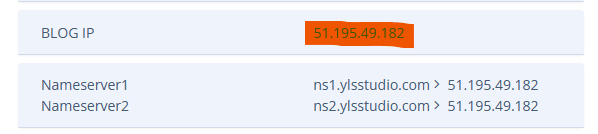
Take a note of your:
- Blogs IP Address
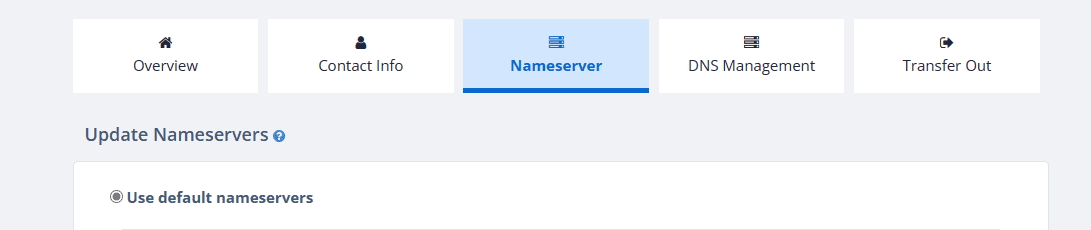
- Go to your dashboard and visit your Domain management section. Then click on the action button to the right of the domain your connecting to your blog.
- Go to your nameservers section and choose “default nameservers” and save.
- Now navigate to your “DNS management” section and change your A record to reflect the below infomration.
– Subdomain = *
– Record Type = A (Address)
– Address/Hostname = The IP of your blog, eg. 12.122.12.12
– Priority = Leave this blank
Now save the changes.
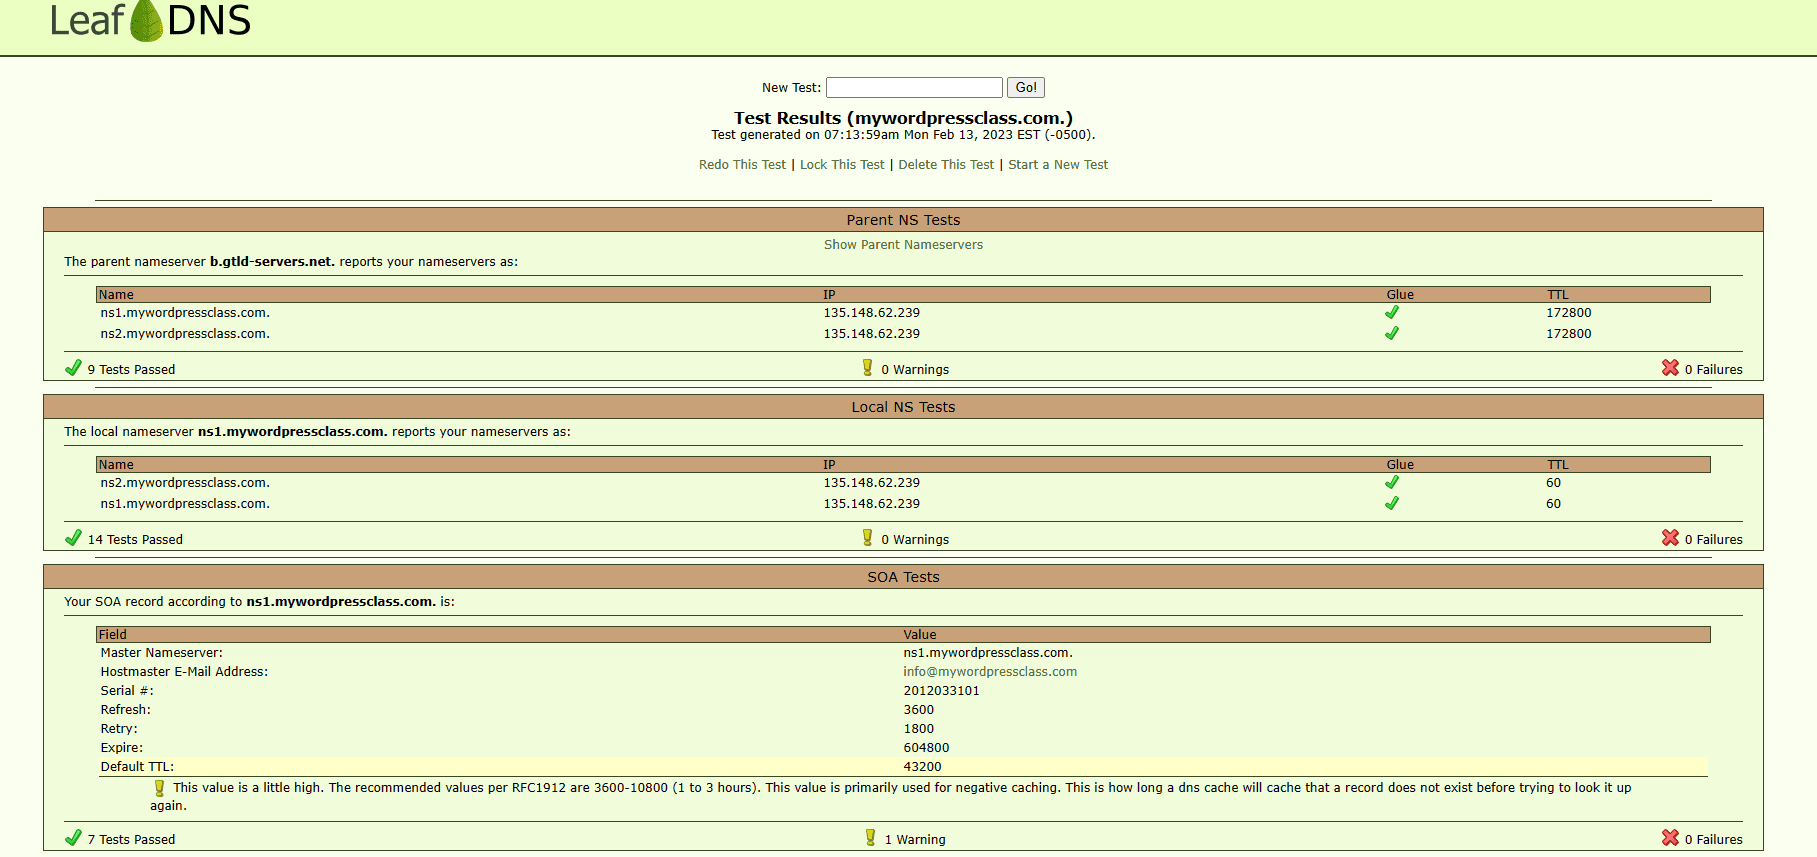
- Now thats it! They will now propagate on the own, which can take anywhere from 10 minutes to 24 hours. To check on the status please go to your site table and underneath your nameserver information you can click on Leafdns.com to check if your nameservers and IP match.
- Once you have checks next to the nameserver and blog IP sections you can enable the SSL certificate from your blog table page. On the right you will notice the SSL option. Click this and enable it.
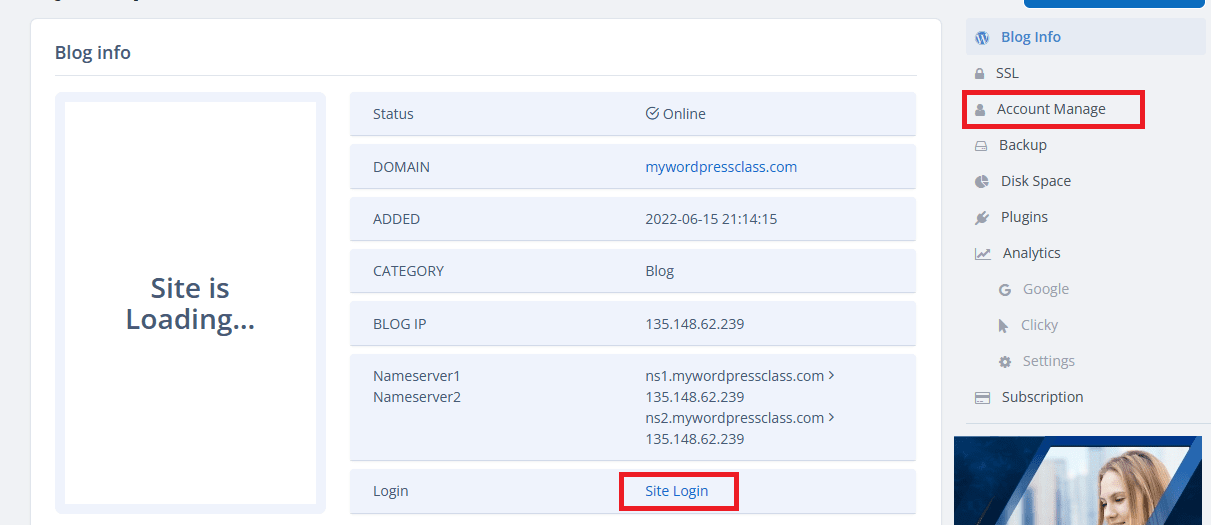
- Finally you can view the login information by going to “accounts manage” to the right site of your blog table. And you can sign into your blog by clicking the “site login” option.
Conclusion
So we hope this helps you setup your .nl domain easily. If you still have any problems with setup you can always send in a support ticket for our staff to help you resolve this or talk to an agent on live chat from any of our pages on www.seekahost.app.