
How to connect Google Analytics and Clicky Analytics to SeekaPanel?

By James Flarakos | August 4, 2021
Table of Contents
Did you know that you can conveniently integrate your Google Analytics and Clicky accounts to keep track of your website’s performance within your SeekaPanel dashboard?
It’s easy to do and can save you a lot of time so let’s go through how to add Google and Clicky Analytics to our SeekaPanel on SeekaHost.
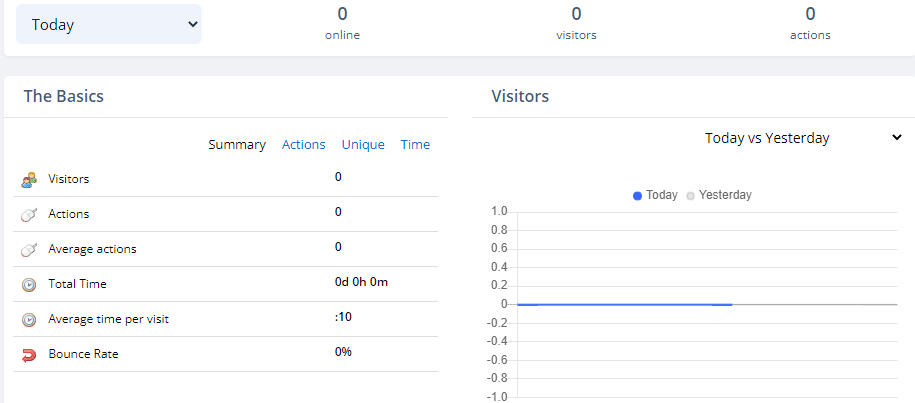
In the video below you can see how to read site traffic and domain visitor data in SeekaPanel by connecting Google Analytics and Clicky Analytics.
Connecting Google Analytics and Clicky Analytics to SeekaPanel is Easy & Effective
This is one of the great features we include for free here at SeekaHost. You can connect your Google and Clicky acount to our main dashboard meaning you can check analytics for your SeekaHost Dashboard before even login in to your sites.
Keeping a keen eye on your analytics is key, as you can track traffic. What pages or posts are doing better and most other data that will help you grow and push certain areas of your site.
We will also go through how to find your google view key, you Clicky site key and also your Clicky site ID.
1.Where Can I Find my Analytics On The SeekaPanel
Start by selecting PBN Blogs from the dashboard.
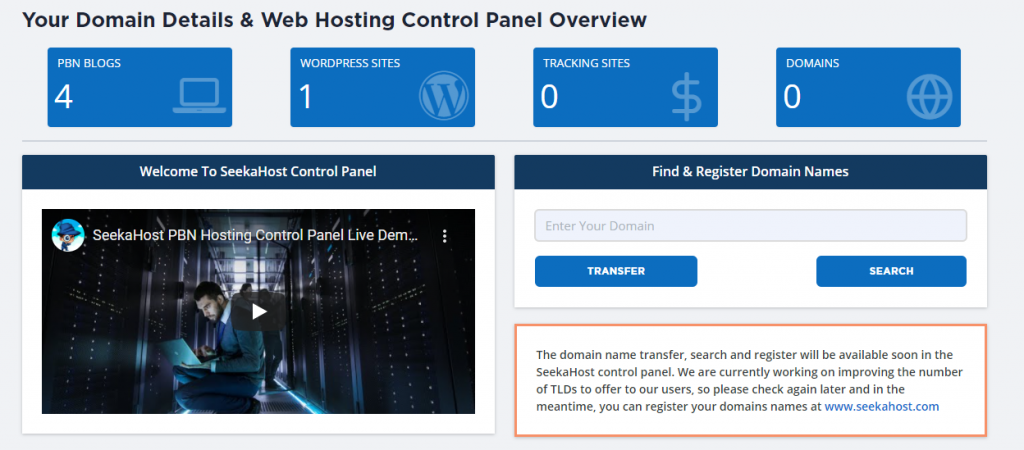
From here choose the Blog you want to connect analytics too.

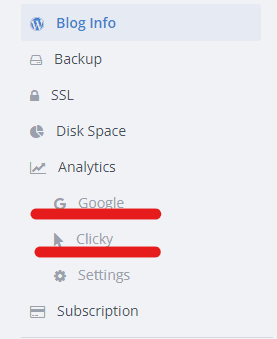
Now select either Google or Clicky to View or Connect Your Google and Clicky Account.
2. How to Connect Clicky Analytics To Your SeekaPanel.
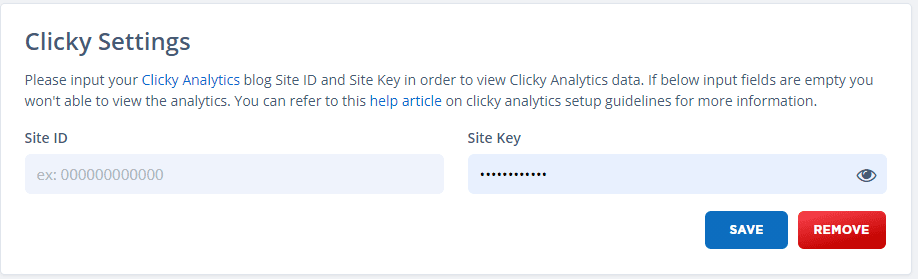
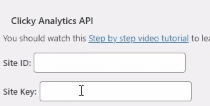
Using the previous step to find your SeekaHost Analytics option. Go ahead an select Clicky. You will be asked for your Site ID and Site Key.
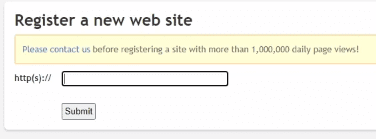
Now head on over to Clicky to create an account. You get a free plan for 1 website but have the choice to upgrade later on if you so wish. Once you have created an account then register a new website. Just type in your complete URL with out the “https://”
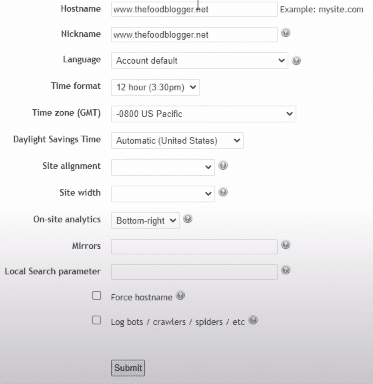
Next up, go through the configuration options for your time zone, display date ect and press submit.
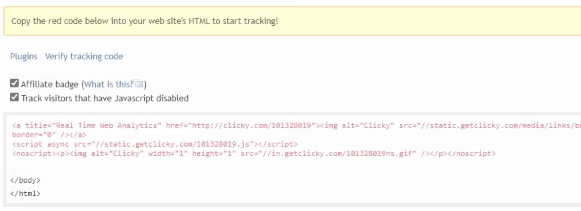
It will then ask for to insert the code into your HTML. If your using WordPress, simply choose the plugin option on the screen or use this download link to download the Clicky Analytics plugin to insert the code for you.
Install and activate the plugin you downloaded, then open the settings screen for the Clicky Analytics Plugin and keep it open as you will need to add your Clicky Site ID and Site Key shortly.
Once you have uploaded the plugin you ca go back to the last Clicky page and select Verify tracking code.
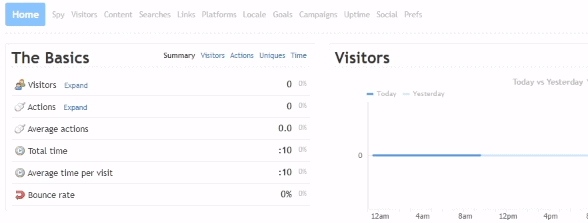
Most of the time you will get a successful message, if you dont it doesnt mean it hasn’t worked. If you have followed all the steps so far it might just be failing the test. How ever if you visit your Clicky home page you should now see analytics for your site or blog. Meaning it is now connected.
To get the Site ID and Site Key you will now need to click the Clicky Icon on the top left.
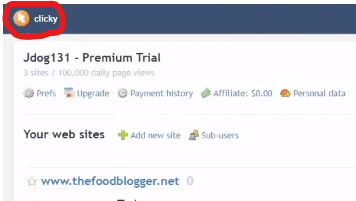
On the bottom left you will find a small sections with the Link called Prefs in it. Click on that link.

You can now find your Site Key and Site ID here. Just first copy ad paste them into the settings of the plugin no your WordPress that you left open earlier. Then we will go to the last step of installing Clicky analytics and connect it to our SeekaHost dashboard.
Go back to your SeekaHost page on the Clicky Analytics and insert the Site Key and Site ID into the relevant areas. Then Click Save and your Clicky Analytics can now be viewed through your SeekaHost dashboard.
3. How to Connect Google Analytics To Your SeekaPanel?
To add your Google Analytics, go back to your Blogs info page in the SeekaPanel and select Google under Analytics Option.
Select the Google email account to connect too. Please be aware that to connect Google analytics to you email must match your email your registered the domain with. Press the action button next to the domain to go to the next step.
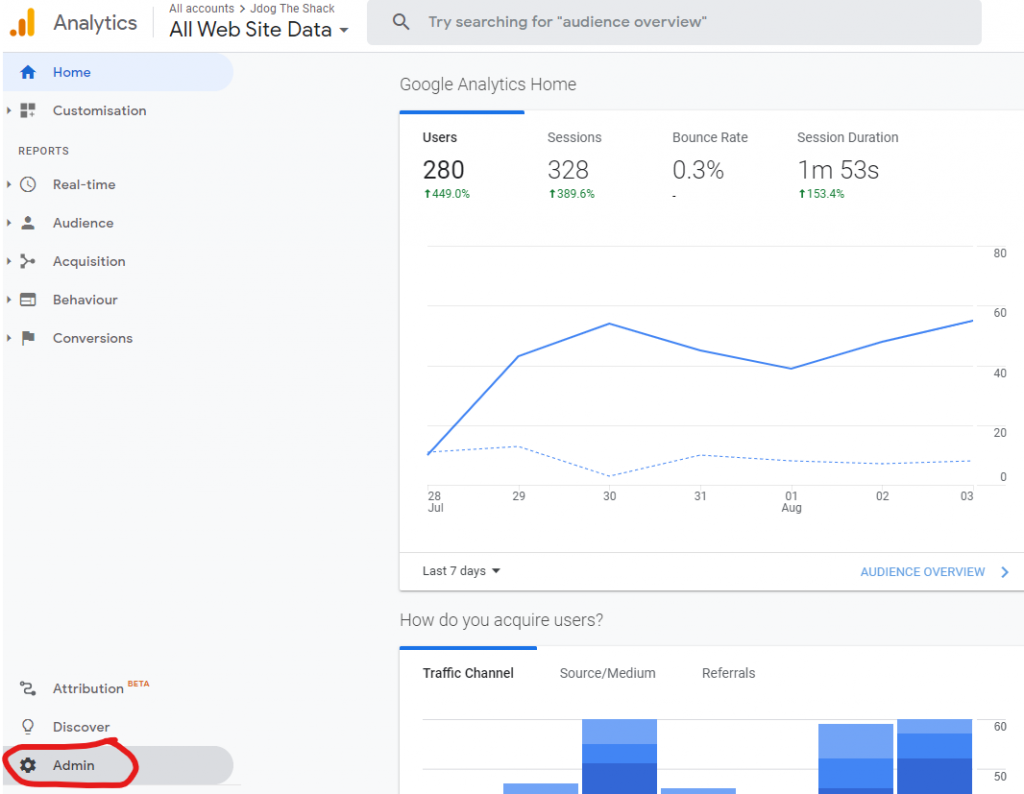
Then its time to add in our Google View ID to connect our analytics. To do this, open up your Google Analytics page with the correct property chosen. (the domain you are connecting)
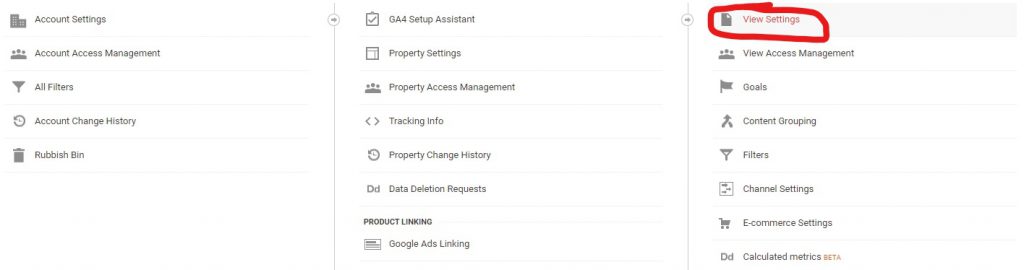
Now select the Admin option on the bottom left.
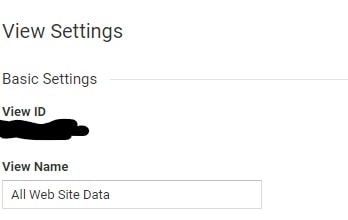
Under the View All Website Data tab, select View Settings.
Here you can find Google View ID Copy it, ready to paste.
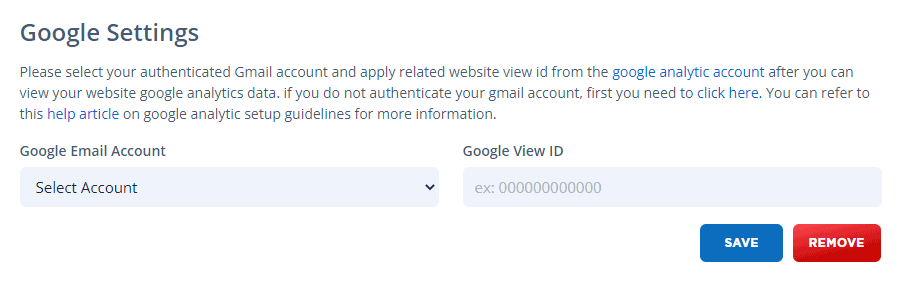
Now go back to your SeekaHost dashboard, select your Blog and press action. And finally select Google, under the analytics option. Unless you left the page up form earlier. Simply select the correct email for your google account and paste in the Google View ID. Then Press save and you have now connected both your Clicky and Google Analytics to your Blog.
You can check the data on these at any time by selecting the blog and coming over to the Analytics option. From here just choose whether you want to check out Clicky or Google and look through all your analytics.
Thank you for taking the time to read this guide, we hope it has helped with installing analytics to your SeekaPanel and for any more information or help feel free to create a ticket or ask our live support team from the homepage.