Difference between A Class PBN Hosting

Difference In A Class vs. Mixed Class IP Hosting at SeekaHost

Today, we’re going to explore the fundamental differences between our A Class IP Hosting and our Mixed Class PBN Hosting. This guide is designed to help you understand which hosting solution best fits your needs and how each can benefit your online strategy.

What is A Class IP Hosting?

A Class IP Hosting exclusively utilizes A Class IPs, which are within the IP range of 1 to 126. These IPs are scarce, making them a premium option in the hosting market. Because A Class IPs are less numerous and highly demanded, they tend to be more expensive. This type of hosting is particularly advantageous for projects that require IPs from specific geographical regions, offering unique advantages for SEO strategies that target distinct localities.

What is Mixed Class PBN Hosting?

Our Mixed Class PBN Hosting primarily uses Class C IPs, spanning the range of 192 to 223. Importantly, it also includes a blend of A, B, and C Class IPs. This diversity is crucial for those who aim to minimize their digital footprint while maintaining a robust online presence across various networks. It offers an excellent balance between cost and functionality, making it ideal for private blog networks where maintaining anonymity and minimizing footprints are essential.

Detailed Benefits of Each Hosting Type

  • A Class IP Hosting: Best suited for targeting specific regional markets or for businesses looking to establish a presence in diverse geographical locations. The geographic specificity of A Class IPs can significantly enhance local SEO efforts and help businesses stand out in competitive markets.
  • Mixed Class PBN Hosting: Offers greater flexibility and security for SEO practitioners managing Private Blog Networks. By using a diverse array of IP addresses, it becomes more challenging for search engines to identify and penalize networks of connected sites.

Additional Insights

Understanding IP subnets and how they relate to SEO can further clarify why different types of IP hosting are beneficial. Search engines like Google look at IP addresses to detect patterns that might suggest manipulative SEO tactics. By diversifying the IP addresses of your network sites across different classes and subnets, you can better disguise your SEO strategy and enhance the effectiveness of your PBNs.

Moreover, using various IP classes allows for more robust network architecture planning, catering to different scales and types of web projects. Whether you are running a large-scale e-commerce site or a small informational blog, the right IP hosting can significantly impact your site’s performance and search engine ranking.

Conclusion

At SeekaHost, we provide both A Class IP Hosting and Mixed Class PBN Hosting to cater to different needs. Whether you require the geographical specificity of A Class IPs or the blended diversity of Mixed Class IPs, understanding these differences will empower you to choose the best hosting solution for your projects. Each type of hosting offers unique benefits, and the right choice depends on your specific hosting requirements and the strategic goals of your online presence.

How To Setup a .nl Domain With PBN Blog Hosting

When setting up a .nl domain with our blog hosting, you will need to follow these steps to connect your PBN blog hosting with your domain.

nl domain guide to hosting

What Is The Difference With .NL Domains

So when setting up your .nl domain with SeekaHost. The nameserver and DNS settings setup is slightly different to out normal PBN blog hosting guides for domains like .com or .co.uk.

In this guide we will show you how to start and connect your .nl domain with your hosting and start editing your website.

Creating Your Blog For .NL Domain

First we need to add our site before we connect the domain to the hosting. Once its added we will be provided the IP and nameservers required to complete the connection with the domain.

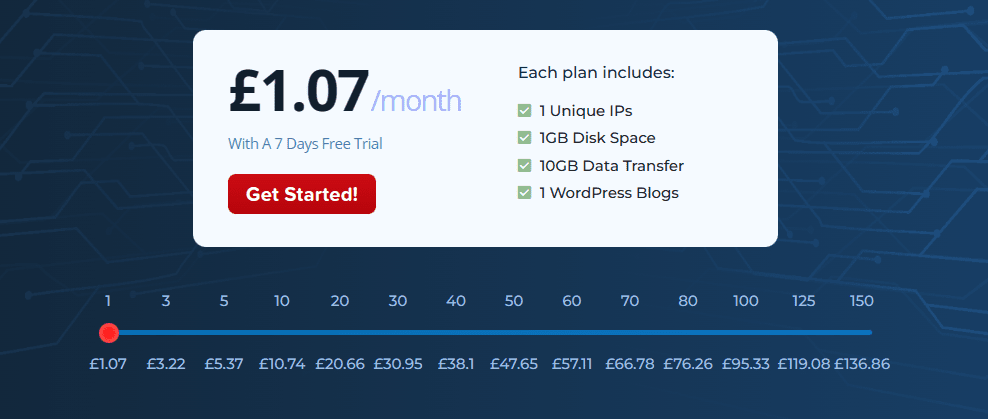
  1. Firstly, find a PBN blog hosting package to suit you or have an existing one ready to start your blog on.
    pbn blog hosting packages
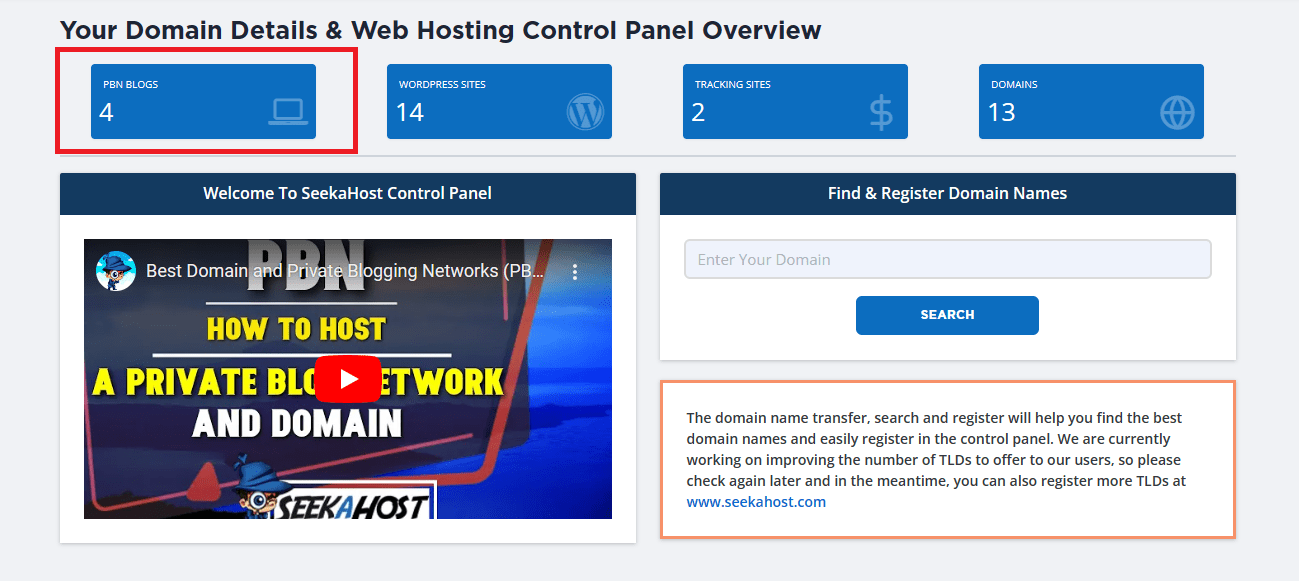
  2. Now login to your dashboard and select PBN Blogs to connect your blog.
    pbn blog hosting
  3. This page will display your current PBN blogs if you have any. On the top right click on create new blog to get started.
    create PBN blog on seekahost for .nl domain
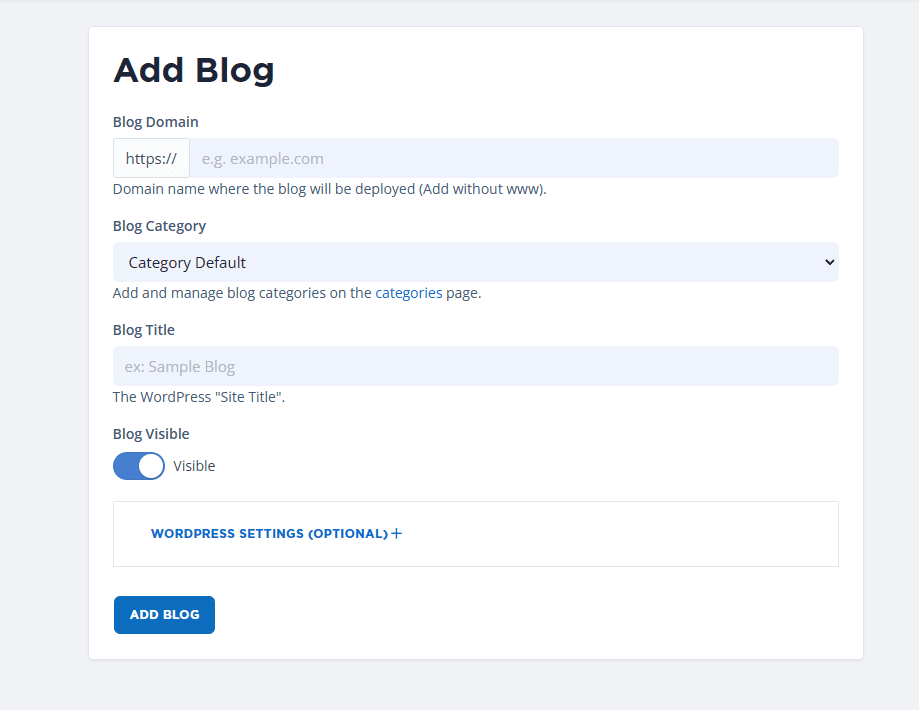
  4. On this page you will now need to insert your domain, select a category (created on the previous page), add a blog title and finally create your blog by clicking on add blog.
    add pbn blog hosting site for .nl domain
  5. You will then be re directed to the list of blogs you have. Once the status changes to “online” you can click on action to the right of the domain to continue to connect it with your domain.
    domain and hosting online

How To Connect Your .NL Domain To Hosting

Once you added your site using the guide above, its now time to connect your domain. Access your blog by clicking action button to the right of your blog, in the list of sites you host.

setup nl domain for pbn


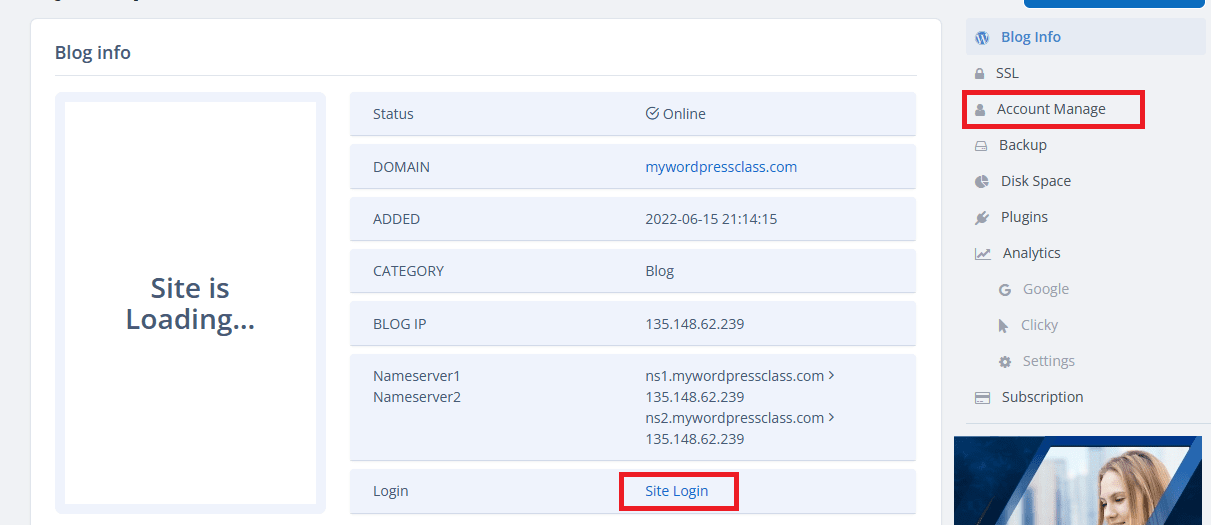
Take a note of your:

  • Blogs IP Address

pbn blog ip

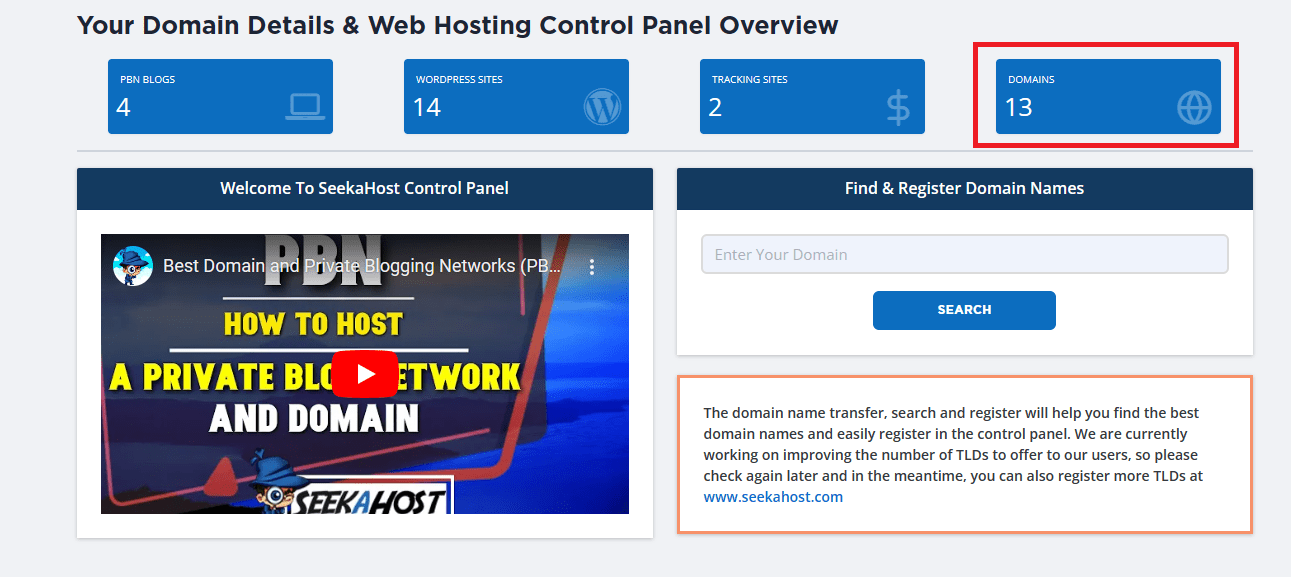
  1. Go to your dashboard and visit your Domain management section. Then click on the action button to the right of the domain your connecting to your blog.
    domain management for nl domain
  2. Go to your nameservers section and choose “default nameservers” and save.
    nameservers for nl domain
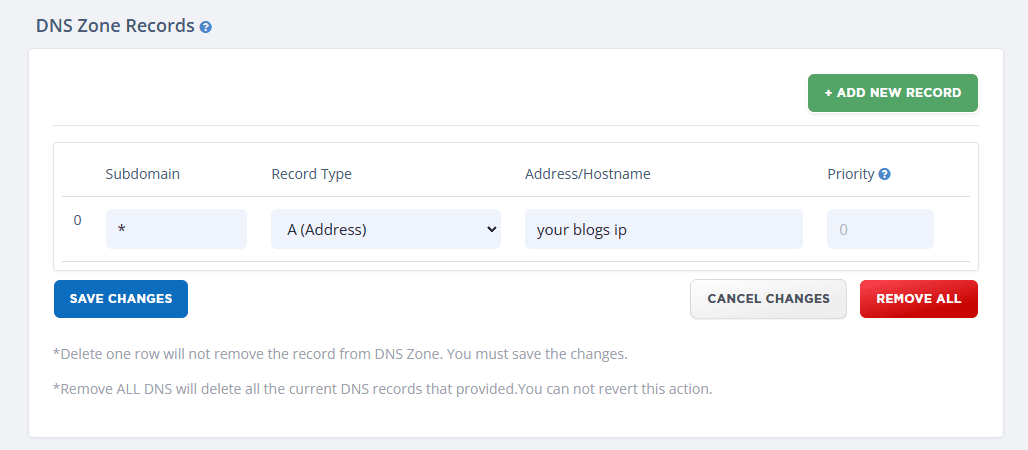
  3. Now navigate to your “DNS management” section and change your A record to reflect the below infomration.
    – Subdomain = *
    – Record Type = A (Address)
    – Address/Hostname = The IP of your blog, eg. 12.122.12.12
    – Priority = Leave this blank
    Now save the changes.dns setup for .nl domain
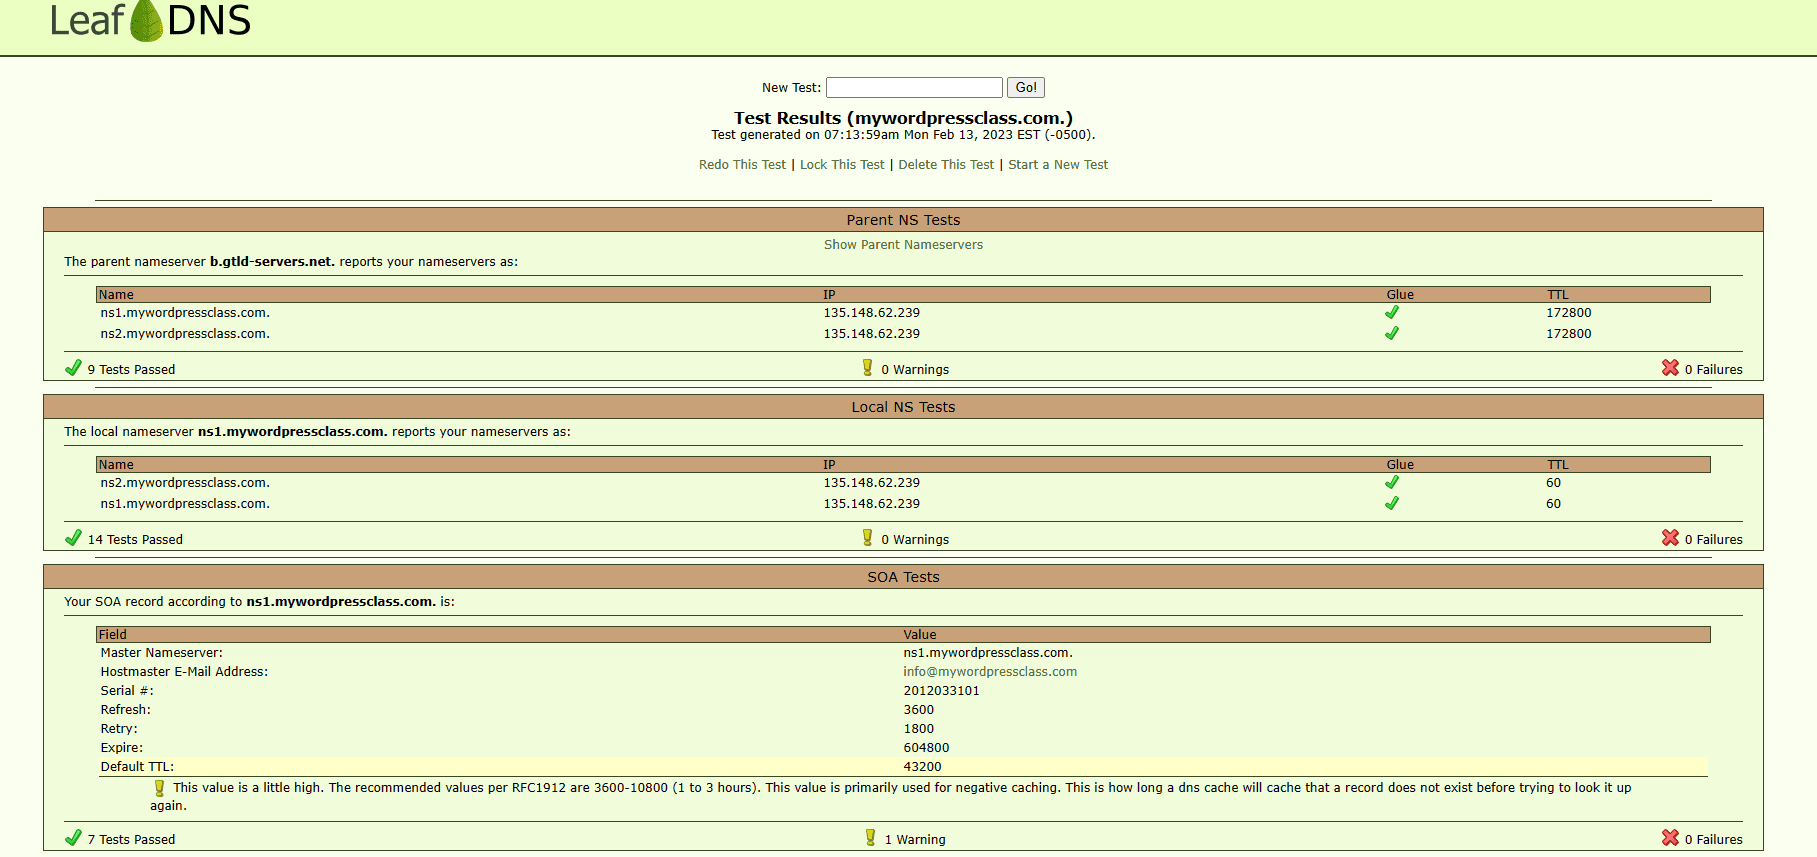
  4. Now thats it! They will now propagate on the own, which can take anywhere from 10 minutes to 24 hours. To check on the status please go to your site table and underneath your nameserver information you can click on Leafdns.com to check if your nameservers and IP match.
    leafdns checking blog ip
  5. Once you have checks next to the nameserver and blog IP sections you can enable the SSL certificate from your blog table page. On the right you will notice the SSL option. Click this and enable it.
  6. Finally you can view the login information by going to “accounts manage” to the right site of your blog table. And you can sign into your blog by clicking the “site login” option.
    log in to pbn blog site

Conclusion

So we hope this helps you setup your .nl domain easily. If you still have any problems with setup you can always send in a support ticket for our staff to help you resolve this or talk to an agent on live chat from any of our pages on www.seekahost.app.